Pin It Now!
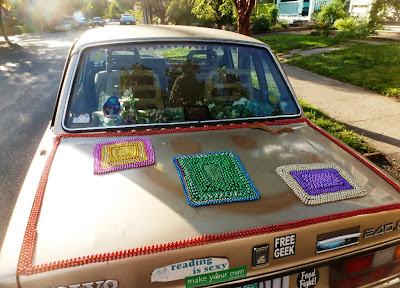
On Thursday I had a great urge to work on my car. It was a beautiful fall day and looking at the forecast I knew this weather was short lived. I decided that I needed to start bedazzling the trunk of the car to balance things out. Here's the outcome so far:
It was the perfect weather. It was sunny, but not too warm. I have never affixed beads to my car without losing a pound in sweat, so that was quite delightful.
I was correct about the weather, however. Friday it started to rain and there have been all sorts of rain storm warnings since. Literally the it's like a monsoon outside right now as I am typing this.
Looks like I can put this project to rest till the sun returns in 2014!
Saturday, September 28, 2013
Thursday, September 19, 2013
DIY Coffee Urn Terrarium
Pin It Now!
I am really excited about my latest project. I have been collecting glass vases from free boxes for a couple of years now with the intent of making a terrarium, but for some reason felt a bit intimidated about making one.
Two days ago I decided now was the time. I found a simple DIY terrarium instruction website and while doing some internet research I came upon a terrarium that was made in a vintage coffee urn. It looked awesome. I actually had a coffee urn in my vintage spot at Red Fox and it was settled that that was what I was going to do.
To make things even more serendipitous I found two coffee urns thrift shopping yesterday. After I purchased them, I headed straight to Portland Nursery to pick up some terrarium supplies.
Things you definitely need for making a terrarium are:
Activated Charcoal
Potting soil or Succulent soil if that's what you are using
Rocks
Moss and decorative items are optional, but I think add a bit more whimsy to the little universe you are creating.
I needed to use chopsticks to place the plants and moss and rocks since the neck of the coffee urns were so slender. If you use a large bowl or vase, you won't need chopsticks.
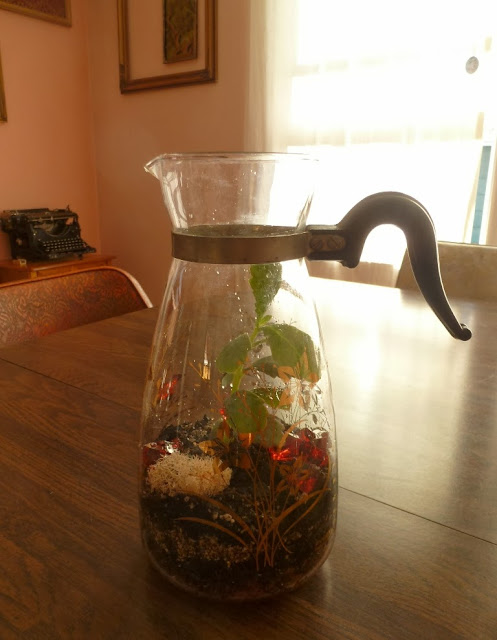
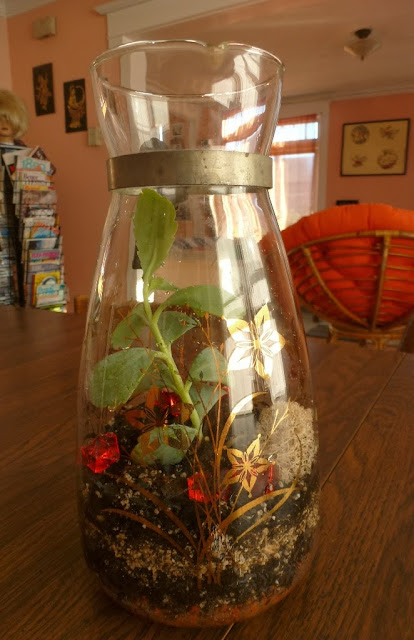
Here's a photo of the two I made yesterday and are currently for sale at Red Fox on SE 46th and Woodstock:
Here's how you can make your own terrarium:
1. Choose a glass jar, vase or whatever clear container you would like; sky's the limit.
2. Add a layer of rocks. This is to help drain excess water.
3. Mix potting soil together. Follow the ratios on the bag of activated charcoal you buy. The charcoal prevents your terrarium from becoming waterlogged. If you don't have succulent soil, I think it's okay to use potting soil and activated charcoal and be careful on how often you water it.
4. Put soil in the container on the rocks. Add whatever plants you would like. It's best to get a plant that is small enough or fits the container.
5. Add moss and decorative items.
6. Enjoy your lovely new terrarium! Makes a perfect centerpiece on your dinner table.
Subscribe to:
Posts (Atom)


